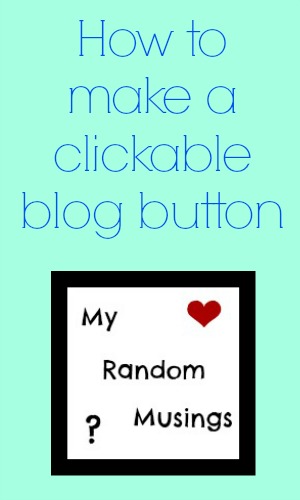
I remember when I first started blogging. I was totally clueless with anything HTML related. I remember when I designed a blog button and being so impressed with myself, then realising I had no idea how to make it clickable. I had basically  designed an image.
After Googling how to make a blog button clickable (Google was and still is my life line with techy issues) I spent a long time trawling about trying to find a post that wasn’t too technical.
I don’t know if it was just because I was so clueless, or if some people like to make things sound harder than they are, but it took ages finding one that worded it in a way I understood.
With that in mind, I thought I would share with you today how to make a clickable blog button that links back to your blog. These are ideal if you plan on advertising on other blogs or if you write guest posts for other blogs.
Blog Button Step 1: Design Your Image
I used PicMonkey to design my image, but you can use whichever site you normally use. Ideally, your blog button should be square and sized at around 150×150, this is ideal for side bars. Once you are happy with your image, save it to your computer.
Blog Button Step 2: Get Your Image Online
To make your image clickable, it has to have its own URL, so you have to have it online somewhere rather than on your hard drive. This really confused me in the beginning. I would use the image location from my hard drive, and I didn’t think through that when it was someone else clicking it, obviously their computer doesn’t have access to it.
There are a couple of options here. If you are on WordPress, you can put the image into your media library. If you are on Blogger, then you can use your usual online storage site.

Blog Button Step 3: Build Your Code
This is so much easier than it sounds. Your code should look like this:
<a href=https://www.myrandommusings.co.uk><img src=https://www.myrandommusings.co.uk/wp-content/uploads/2015/11/MRR-blog-badge.jpg></a>
To do your own, copy and paste the above lines from <a through to a>
Make sure you replace my URL in the first part to the link you want the button to go to, and the second URL to the URL of your own image.
You can now add this code to your sidebar or to the HTML part of a post. Remember: if you delete the image from the site you stored it on, this link will no longer work.
Be sure to check back on Saturday for instructions on how to make your blog badge into a grab badge so other people can display it on their blogs.
Did you ever struggle using code? Have you got a clickable blog button? Let me know in the comments
You can find me here: Twitter Facebook Bloglovin Pinterest and Instagram Please do stop by and say hi!


What does this mean, and what does it do? Sorry I just don’t understand

It’s basically a link to your site but rather than a text link, the image you use for your blog’s logo becomes the link, so if someone clicks it they will be taken to your blog. Does that make sense? x
Yes, I get it now thank you! I really must do this! Xxx
No problem x
x
Grab Badge: A How To Guide - My Random Musings
[…] Thursday, I shared a post on how to make a clickable button for your blog. Today I thought I would share with you how to make a grab […]